Showing posts with label ATOM 330. Show all posts

Saturday, May 15, 2010

Car Computer.... in short carputer... Part 1

I have been toying around with the idea of fitting a car computer aka carputer in the RONDO for a long time. I was slowly buying parts and checking out individual items that would make this project feasible.

First I bought an ITX casing from lelong.com.my. This is one of the best place to search for good bargains and also check out prices before I head to the stores. I saw a Mini ITX Slim Casing - E-2011 and immediately bought it. Why? The casing comes with a 12V power supply and adapter, this would allow me to use this casing and its contents inside a car without modifications.


This is a picture of the 12V power supply board that comes with the casing.


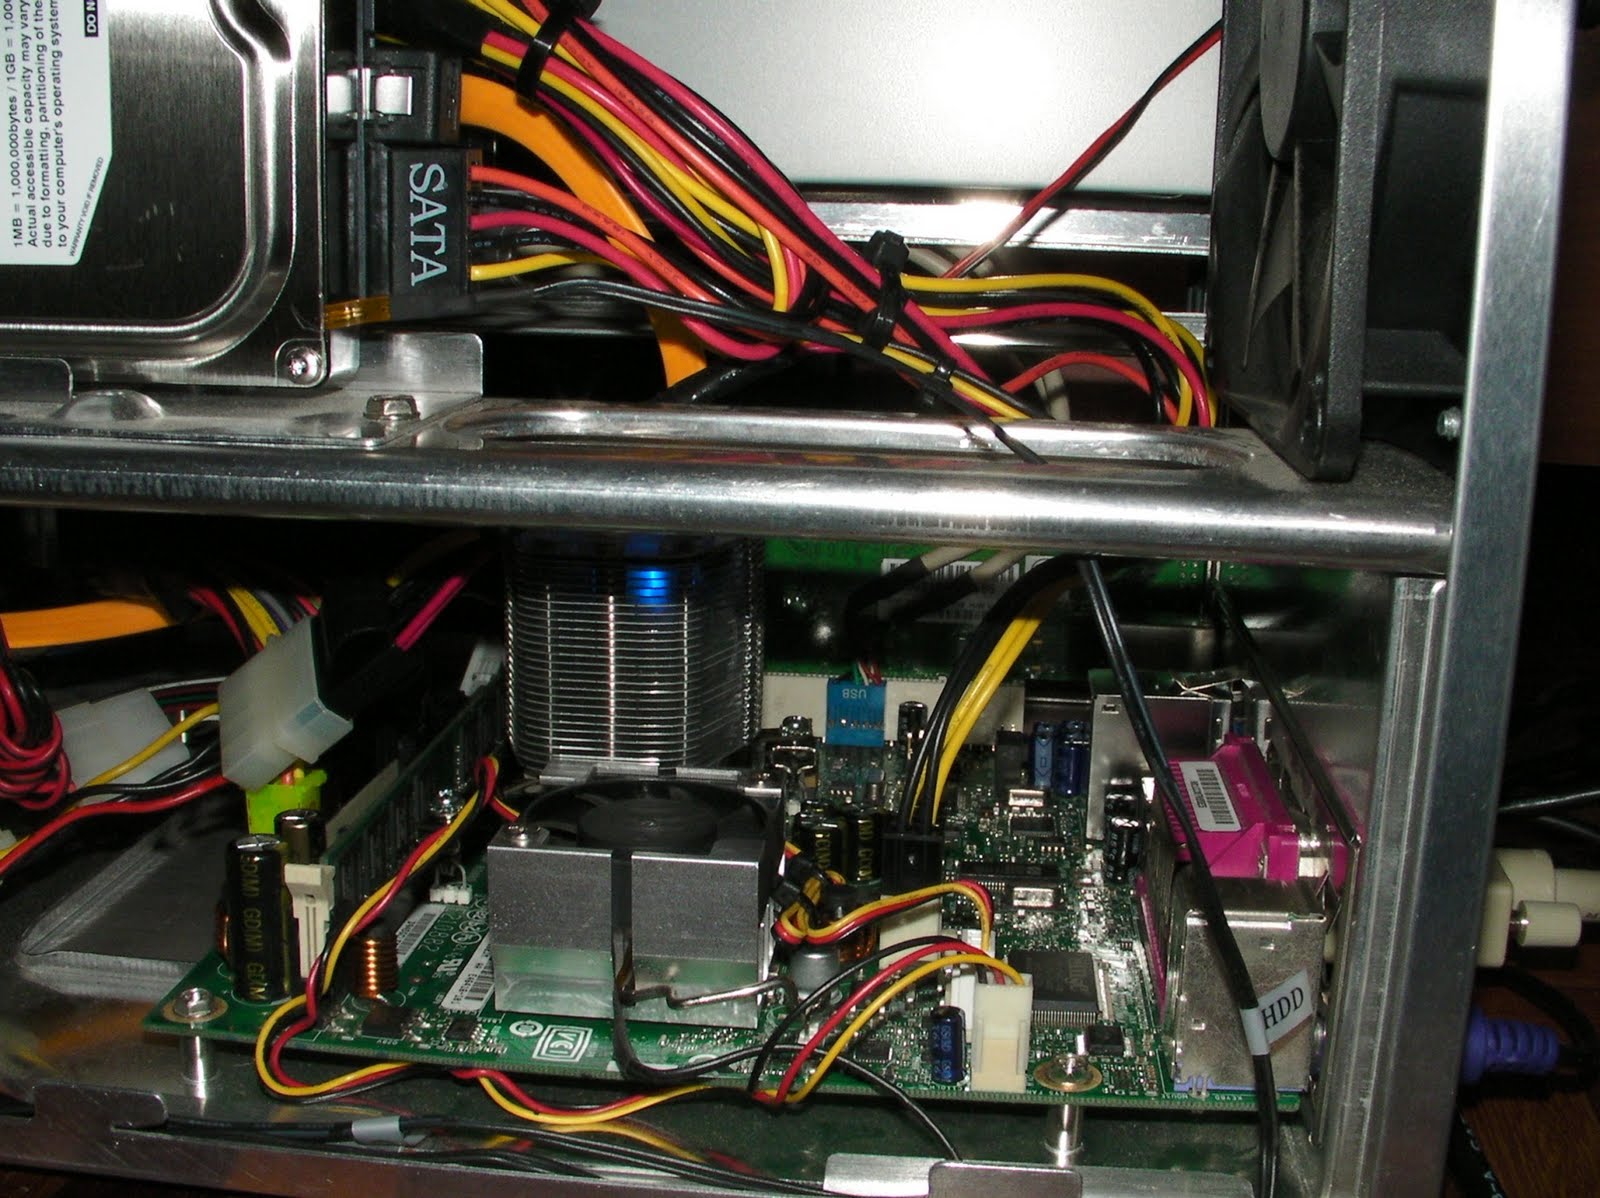
Next I fitted a ITX ATOM 330 board, this is the same model as the one that I used for my Windows Home Server Project. Looks good but the wires are everywhere... most of them too long, specially the SATA cable.


As you can see the ITX ATOM 330 board is fully equipped in terms of connectivity. Take note that this particular unit has a S-Video out too. Very useful for rear LCD monitors for my kids.


Front of the casing and the provided power adapter. Looks good...

I used to have a 64G SSD Kingston V drive for this project, but I installed it into my LENOVO S10-3T tablet netbook recently. So I have to get another one, might look for a V+ version now as it is much faster and swap with the netbook.

Next I have also order a 2 DIN RONDO mount to replace the current factory radio. It should arrive in a week's time. That will be part 2... so stay tuned.

Tuesday, April 13, 2010

Building a Windows Home Server, Part 1

I got a bit restless 2 weeks ago and decided to do a project. Since I have just wired up my 3 bedrooms with network points(2 rooms with GB ports and 1 with HOMEPLUG) I got itchy and wanted to run some applications on it. Surfing thru the net I found an article by ACER on their easyStore H340 SERVER(http://reviews.cnet.com/networking-and-wi-fi/acer-aspire-easystore-h340/4505-3243_7-33707300.html) and decided what the heck... lets give it a try since I have enough parts around the house to make one. So here goes....

1.) INTEL ATOM 330 D945GCLF-2


Got this from my previous project for my video conferencing demo systems. (I was using this ITX 'so called' PC to create packet loss and test packet lost performance during a video call)

2.) Heatsink for the Intel 945 chipset, heat comes mainly from the chipset, NOT the processor.


Bought this CoolerMaster unit from Lowyat, think it was around RM40+. Removed the existing one from the ITX motherboard(on the left of the picture)

3.) Fitted it on.....


Looks huge on the small ITX motherboard. Had to bend the hinges to make it fit.

3.) I had an old HTPC casing with two 5.25' slots. Just wonderful to house the whole setup.


It was a pretty OK fit, case was meant for a micro-ATX board so i had some room. Take note that I have plugged in a GB PCI LAN card into the PCI slot. I was hearing reports that the onboard LAN port does not perform up to GB speeds. So I wanted to check. I used my old PowerLogic PSU, needed to recycle whatever I have. Only thing new was the HDD, 1.5TB samsung unit...:)

4.) Luck wasn't on my side, the freaking PowerLogic PSU fried itself after 2 reboots. Must be the age, looked at the warranty sticker and found out it was more then 4 years old. Shit.... So bought a new unit, needed something cheap and also shorter in length... why? Hahaha... read on in part 2.


Didn't realize that there was a blue light in the Coolermaster heatsink. Makes the whole setup look cool at nite...

5.) After booting up and setting up Windows Home Server i noticed that overall temperature of the system was high. Temp display was around 42 - 46 degrees, wasn't too happy. So i had to improvise.


Both side panels of the HTPC casing was plastic so I took one side out and drilled some holes. Fitted it back on, temp dropped to 36 - 38 degrees. Looks like I solved the problem without any cost.

Think I am done? You must to be joking!!! Stay tuned for part 2 more to come...